Windows: Visual Studio
Before continuing, if starting on a new plugin, you have to download the plugin sample. This is available on the GitHub release page in "Assets". Then extract it into a new folder with the name of your plugin.
1. Install workload
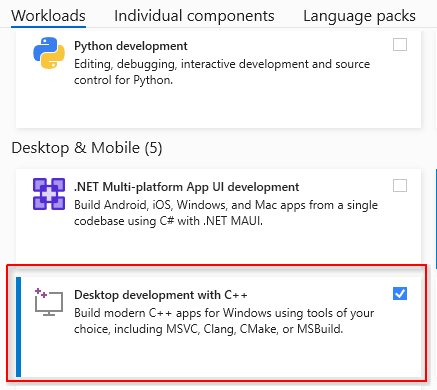
In the Visual Studio installer program, make sure C++ development is checked and installed.
2. Open folder
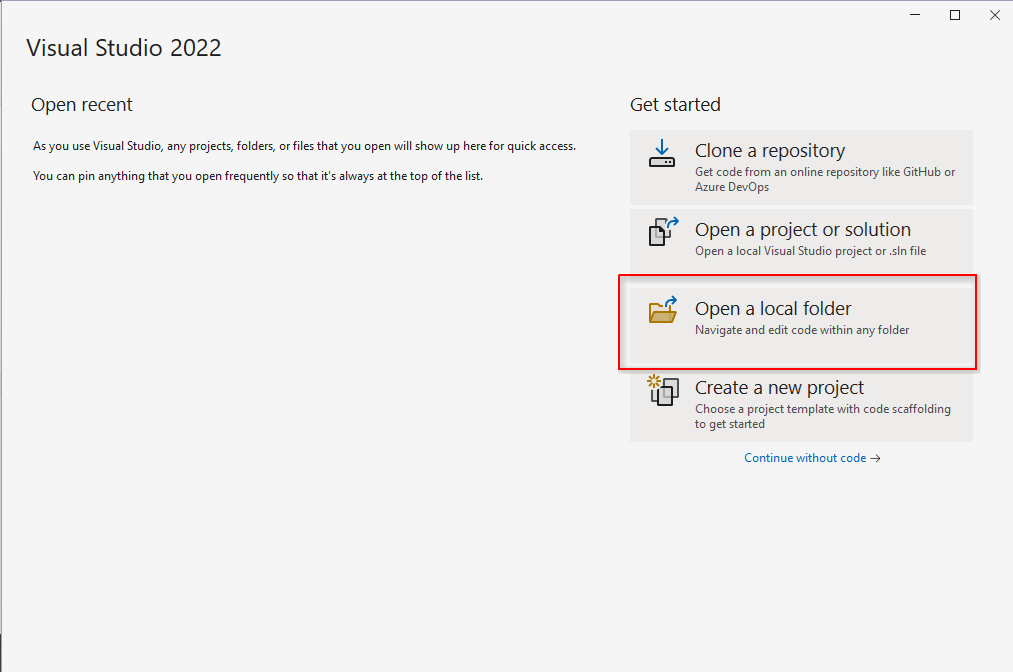
In the Visual Studio main splash screen, select "Open a local folder", and select your new plugin folder. The plugin folder should contain the "CMakeLists.txt" file at the root of the folder.
3. Run
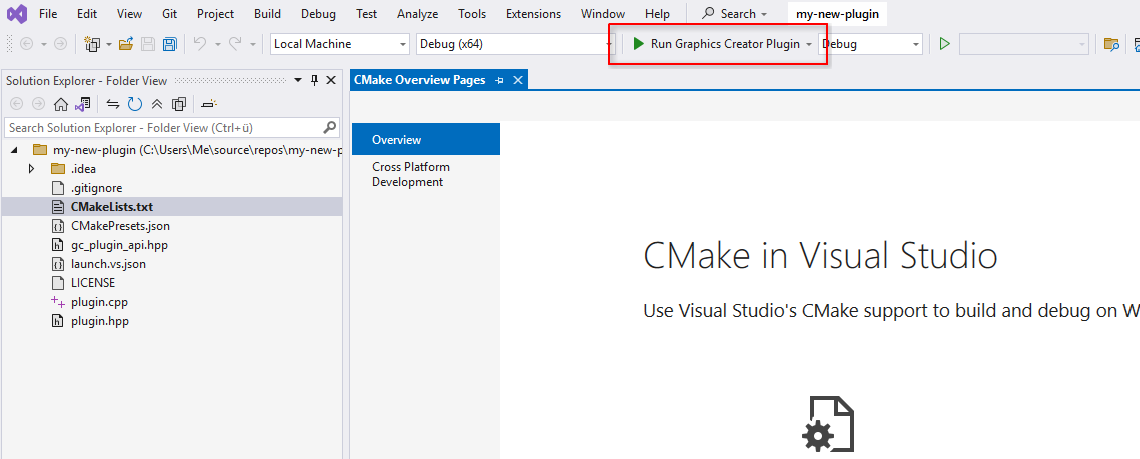
Once the project has been opened, you are now ready to develop your plugin. Click on "Run Graphics Creator Plugin" at the top to begin building and debugging.
4. Test in release
In case you want to test or build in release mode, which is recommended for distribution, switch the target next to the run button.
